The Sourdough Poke Test, and When Not to Trust It
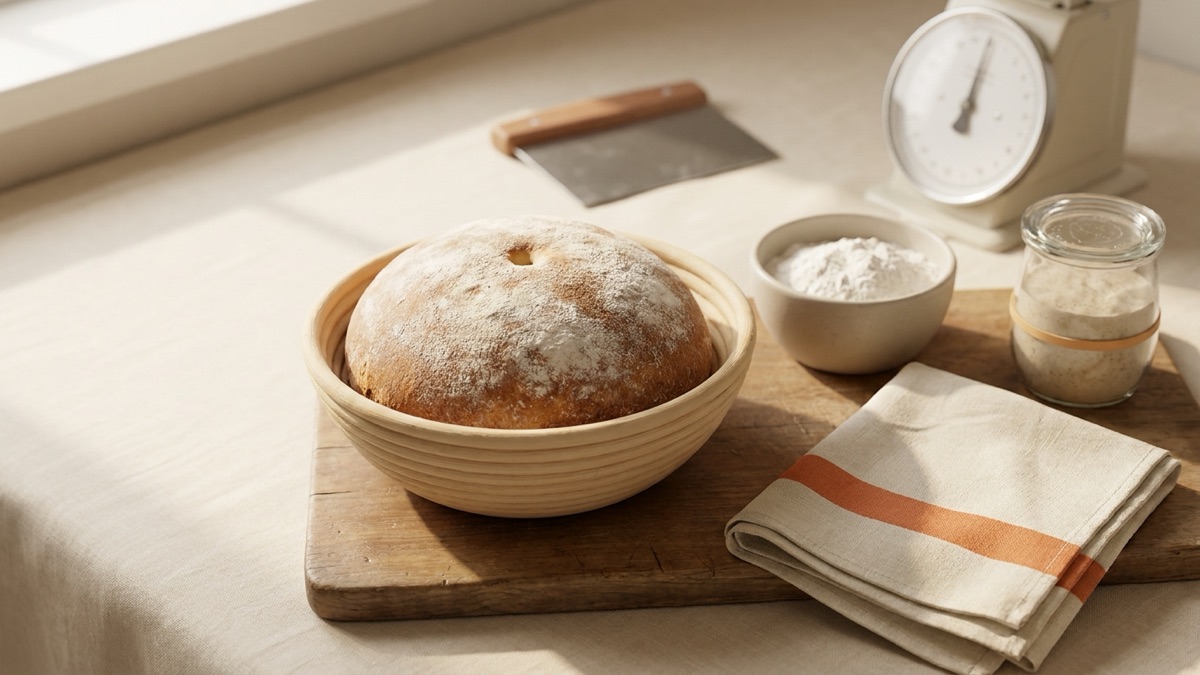
The banneton is on the counter, the oven is heating, and you are about to press a finger into the dough to see if it is ready. Good instinct. The poke test is one of the most useful checks in sourdough, as long as you use it at the right moment and know when it can fool you.
Quick answer
The sourdough poke test is for the final proof of shaped dough. Flour a fingertip and press about 1/2 inch (1 cm) in. Springs right back: give it more time. Fills back slowly and leaves a small dimple: bake. Does not spring back: likely overproofed, bake now. It misleads during bulk and after a cold proof.
The read
If the dent sprang straight back and you baked anyway, and the loaf came out with a dense base or a gap under the crust, that dough was underproofed. Let the final proof run a little longer, until a floured poke fills back slowly, and leave the rest alone. If the dent never filled at all and the loaf spread, shorten the proof instead.
Key takeaways
- The poke test is a final proof check for shaped dough, not a bulk fermentation check.
- Flour your fingertip, press about 1/2 inch (1 cm), and watch how the dent recovers: fast, slow, or not at all.
- A slow return with a small dimple left behind is the sign to bake.
- Cold dough from the fridge springs back slowly no matter what, so the poke test is less reliable after a cold proof.
- Home bakers underproof far more often than they overproof, so when a poke result is unclear, give the dough a little longer.
How to do the sourdough poke test
A young, tight dough pushes back hard. A dough that has filled with gas and relaxed pushes back slowly. A dough that has used up its strength barely pushes back at all.
- Flour one fingertip lightly. A bare finger sticks to almost any sourdough and pulls the surface, which makes the dent hard to read.
- Press about 1/2 inch (1 cm) into the dough, on top, away from the edge of the banneton.
- Lift your finger and watch for a few seconds. How fast the dent fills, and how much of it stays, is the whole test.
- Poke in more than one spot if you are unsure. One spot can sit over a big bubble or a seam.
Start testing early. A warm kitchen speeds the final proof up, and testing too soon costs you only a small dent.
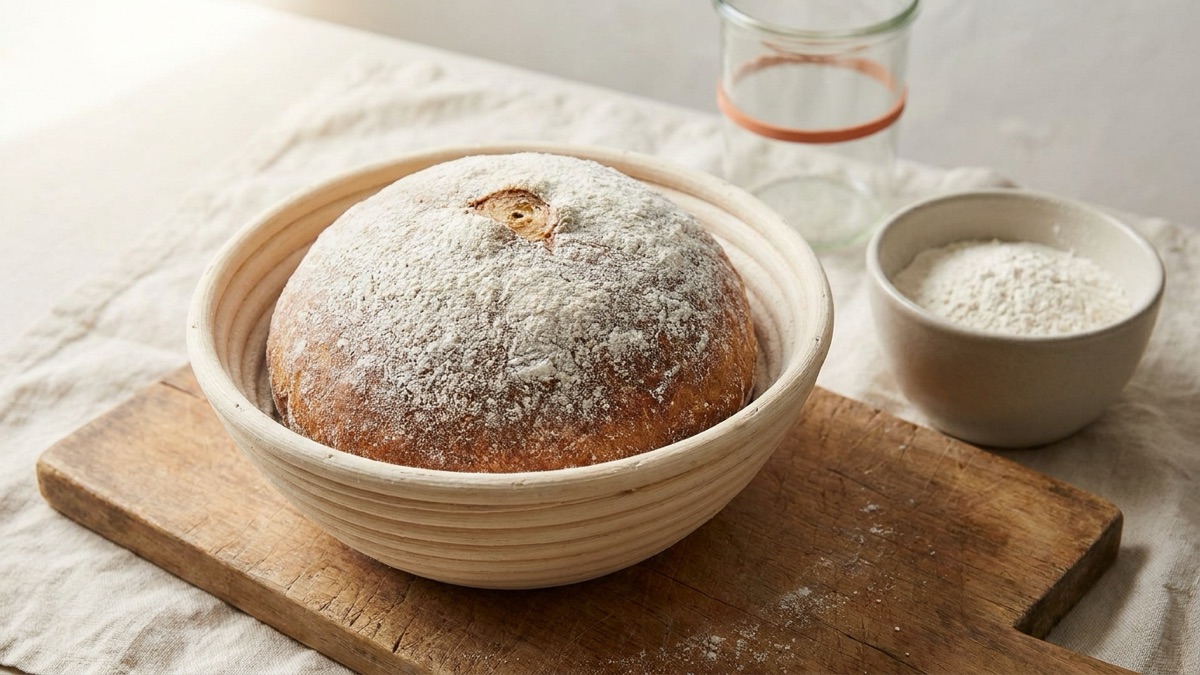
What the poke test results mean
| What the dent does | What it means | What to do |
|---|---|---|
| Springs right back, almost no mark | Underproofed | Give it more time; poke again a little later |
| Fills back slowly, leaves a small dimple | Well proofed | Bake now |
| Fills back very slowly, deep dimple stays | A little overproofed | Bake right away |
| Does not spring back, or the dough sags | Likely overproofed | Bake now; shorten the proof next time |
A ready dough also feels soft, airy and a little alive under your finger. Very overproofed dough can feel fragile, as if it might deflate when you touch it.
Underproofed sourdough poke test
This is the result you will see most often, and the one most often ignored. The dent pops straight back out within a second or two and the dough feels firm and tight, almost rubbery.
That dough needs more time. On a counter proof, poke again in a fresh spot a little later. Baked too early, it tends to show the classic underproofed signs: a dense, sometimes gummy band at the base, big tunnels in tight crumb, a gap under the top crust, or a dramatic burst along the side. Underproofed vs overproofed shows those loaves side by side.
Good to know
If the final proof keeps reading underproofed and your loaves keep coming out dense at the base, the problem often started earlier. A longer final proof cannot fully make up for a short bulk.
Sourdough poke test for proofing: counter proofs
The poke test is at its best on a room temperature final proof. Shaped dough covered on the counter often needs about 1 to 4 hours, which is a wide range, and the poke test is how you find your spot inside it. Recipe times assume a temperature your kitchen may not have, so the dough is a better guide than the clock.
How long to proof sourdough covers counter and fridge timing in more depth, and the bulk and proofing guides collect the rest of this stage.
Sourdough poke test for bulk fermentation
Here is where the test misleads. Bulk fermentation is the first long rise, between mixing and shaping, and the dough in the bowl has no tight skin yet. A poke during bulk tells you very little.
Read bulk by its own signs instead, together, because any one alone can mislead:
- grown roughly 50 to 75 percent (doubled is usually too far);
- domed edges where the dough meets the container;
- bubbles on top and through the sides of a clear container;
- a jiggle like set gelatin when you shake the bowl;
- an airy, billowy feel that pulls cleanly from the sides.
A straight-sided container with the start level marked makes the rise easy to read. How long to bulk ferment walks through each sign and how temperature changes the timing.
Sourdough poke test after cold proof
A cold proof means the shaped dough spends its final proof in the fridge, usually 8 to 16 hours at about 38 to 40F (3 to 4C). Cold dough is firm, and it always springs back more slowly than warm dough. So a perfectly good chilled dough can leave a deep dent that hardly moves, which on the counter would read as overproofed.
That makes the poke test less reliable after a cold proof. For those loaves, trust the bulk you did before the dough went in and how the dough looked in the banneton. Bake straight from the fridge; there is no need to let it warm up so you can poke it.
The real signs a cold proof ran too long are visual: risen well above the rim, slack and bubbly on top, and spreading as soon as you turn it out. Can you overproof sourdough in the fridge? goes into those in detail.
Heads up
Whatever the poke says, the bake is hot. The pot sits at 450 to 500F (230 to 260C) after preheating, so lower the dough in on a parchment sling, wear oven mitts and lift the lid away from your face.
Sourdough poke test sticky: what it means
Sticky dough on your fingertip has two common causes, and they need different answers.
Your finger was not floured. Almost every sourdough sticks to bare skin. Dust the fingertip and try again in a fresh spot.
The dough is very wet or has gone too far. A high hydration dough feels tacky even when it is right on time; if it holds its shape in the banneton and the dent recovers slowly, it is fine. A dough that is sticky, slack, spreads when turned out and barely recovers from a poke has likely overproofed. Bake it right away, and next time shorten the proof or end bulk 30 to 60 minutes sooner.
When not to trust the poke test
The poke test is one signal, not a verdict. Lean on the other signs when:
- The dough came from the fridge. Cold always slows the spring.
- You are still in bulk. Read rise, dome, bubbles and jiggle.
- The dough is mostly whole grain or rye. These doughs have less stretch and can feel firm or pasty, so the dent behaves differently. Watch the rise and the surface as well.
When a result is unclear, lean slightly toward more time. Home bakers underproof far more often than they overproof, especially with cool kitchens and young starters.
Try it
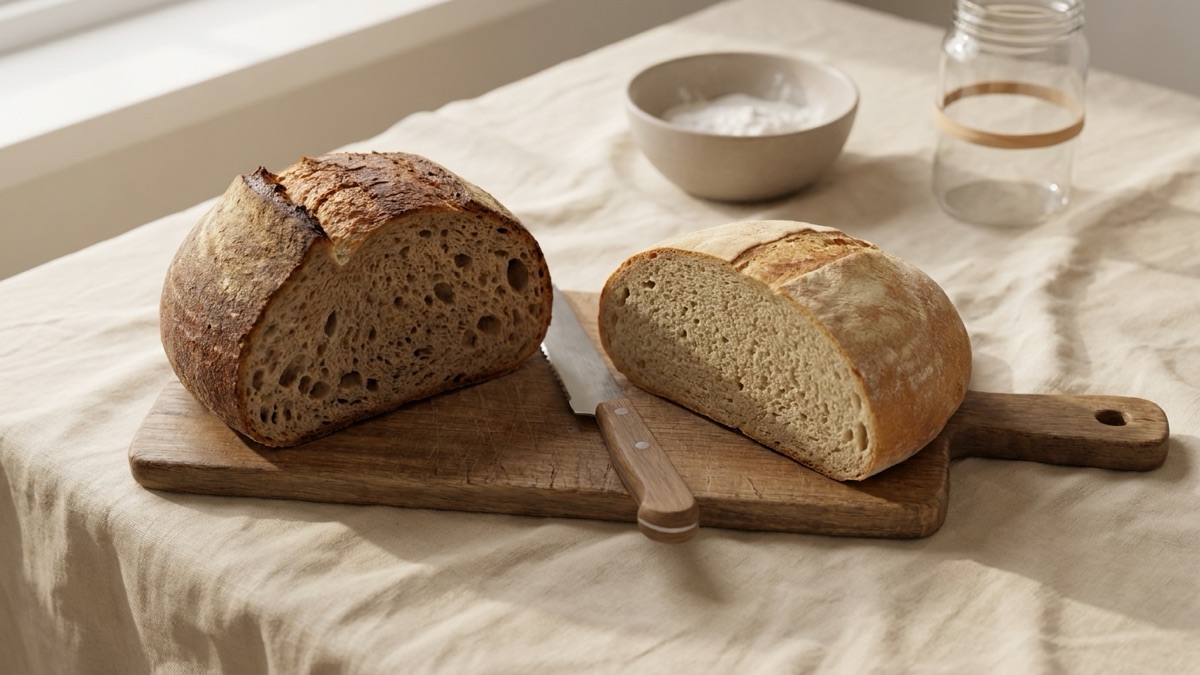
Once the loaf is cool and cut, describe the crumb in the crumb troubleshooter to see whether the proof was short, long or right, and which one lever to move next bake.
What to do this bake
- Mark your bulk container at the start level and read bulk by rise, dome, bubbles and jiggle, not by poking.
- Shape, then start poking the final proof early, with a floured fingertip, about 1/2 inch (1 cm) deep.
- Bake when the dent fills back slowly and leaves a small dimple.
- If you cold proof, skip the poke and bake straight from the fridge.
- Write down the proof time and how the dent behaved.
- Cool fully, cut, and compare the crumb to the poke you saw.
What to change next bake
- Dent sprang right back, loaf dense at the base or gappy under the crust: proof, a little longer on the counter, until a floured poke fills back slowly. If it was a cold proof, bulk, 1 to 2 hours longer.
- Dent never filled, loaf flat, pale and spread: proof, about 30 minutes shorter, or end bulk 30 to 60 minutes sooner. Not both.
- Sticky and slack at the poke, but good height: shaping, more tension next time.
- Deep dent after a cold proof, but the loaf rose tall and even: nothing. The cold fooled the test.
- Slow dent, small dimple, even crumb top to bottom: Bake it again, and write down the proof time and dough temperature.
The poke test earns its place on shaped dough at room temperature, not in the bowl and not straight out of the fridge. Read it with your eyes as well as your finger, and let the cut loaf tell you whether to trust it next time.
The pictures in this guide are AI-generated illustrations, not photos of real bakes; real loaves and starters vary, so trust the signs described in the text over any picture. Loaf Scout guides are general baking guidance, written from the sources named below, and every kitchen, flour and oven is a little different. Loaf Scout gives an AI read of one photo; your own eyes, nose and the poke test still count. A starter with fuzzy mold of any color, pink or orange streaks, or a rotten smell is thrown out and started again, whatever any page says.
Questions people ask
How do you do the poke test on sourdough?
Flour a fingertip and press about 1/2 inch (1 cm) into the shaped dough. If the dent springs right back, give it more time; if it fills back slowly and leaves a small dimple, bake; if it does not spring back at all, it is likely overproofed, so bake right away.
Should you do the poke test during bulk fermentation?
No. The poke test belongs to the final proof of shaped dough. For bulk, read the rise of roughly 50 to 75 percent, domed edges, bubbles on top and through the sides, and a jiggle like set gelatin.
Does the poke test work after a cold proof?
Not well. Cold dough always springs back more slowly, so a chilled dough can look ready or even overproofed when it is not. After a cold proof, trust the bulk you did before it went in and bake straight from the fridge.
Why is my sourdough sticky when I poke it?
A bare finger sticks to almost any sourdough, so flour your fingertip first. If the dough still feels sticky, slack and spreads when turned out, it has likely gone too far; a very wet dough can also feel tacky without being overproofed.
What does an underproofed poke test look like?
The dent springs straight back out within a second or two and leaves almost no mark. The dough feels firm and tight. Give it more time on the counter and poke again in a fresh spot a little later.
Sources
- The Perfect Loaf: Proofing bread dough: www.theperfectloaf.com/guides/proofing-bread-dough/
- The Perfect Loaf: The ultimate guide to bread dough bulk fermentation: www.theperfectloaf.com/guides/the-ultimate-guide-to-bread-dough-bulk-fermentatio
- King Arthur Baking: How to tell if bread dough has risen enough: www.kingarthurbaking.com/blog/2022/08/22/how-to-tell-if-bread-dough-has-risen-en
Read next
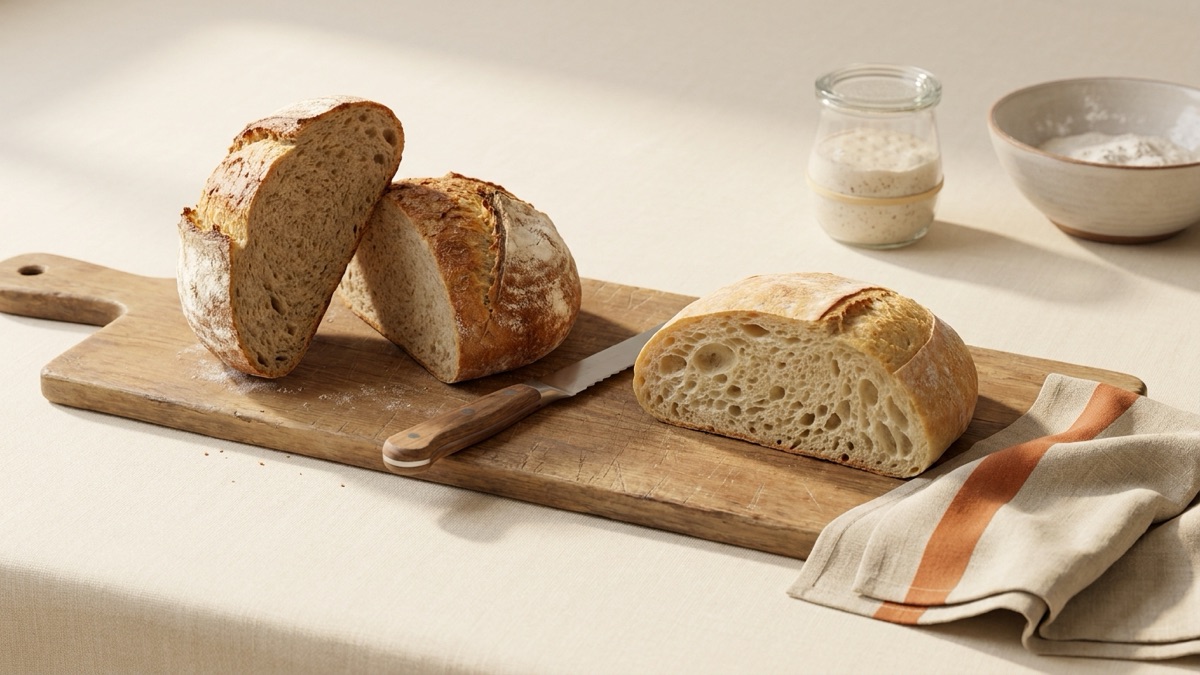
Bulk and proofing
Underproofed vs Overproofed Sourdough: How to Tell
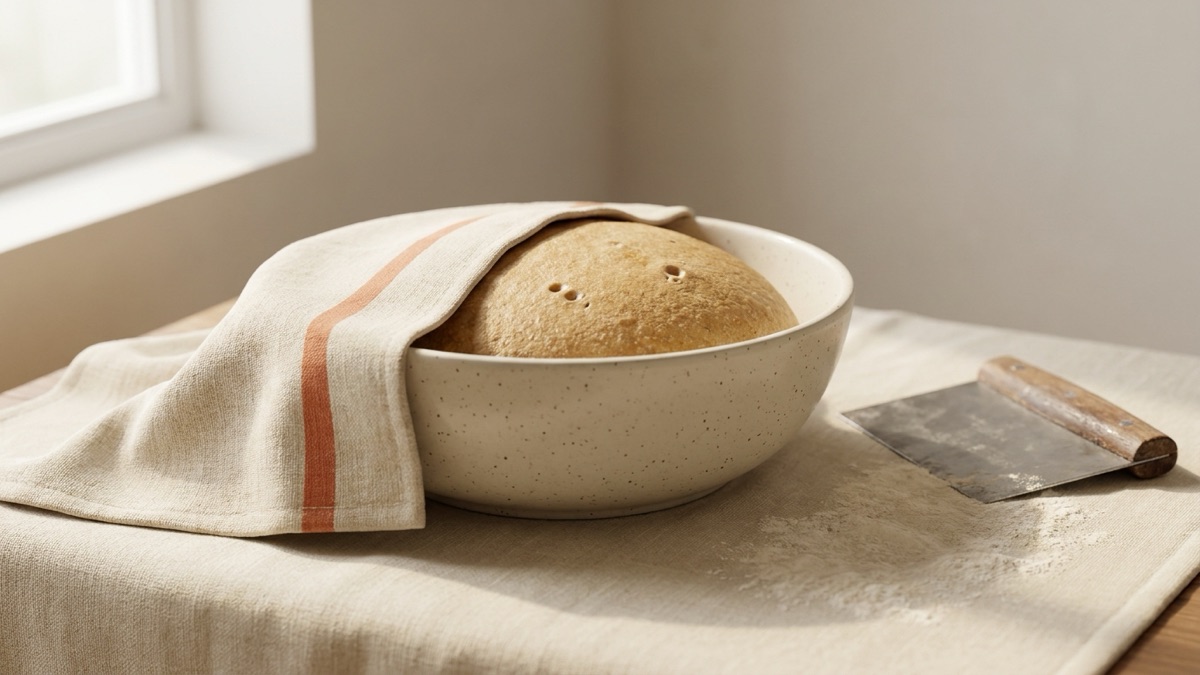
Bulk and proofing
How Long to Bulk Ferment Sourdough
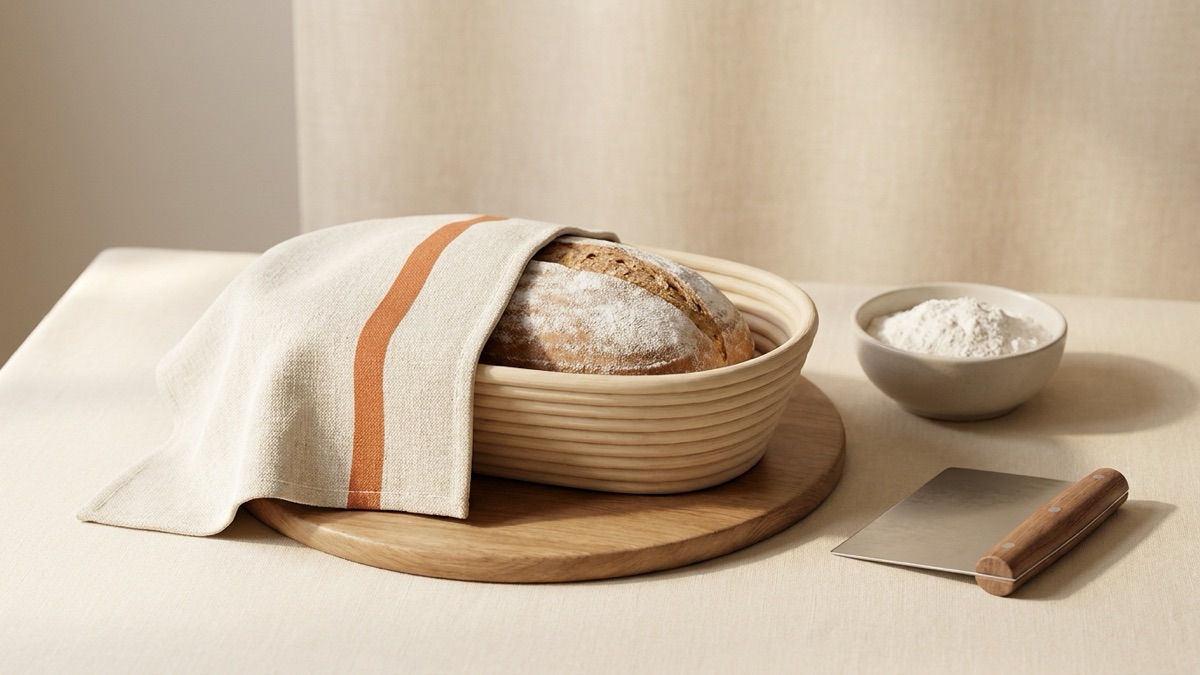
Bulk and proofing
How Long to Proof Sourdough After Shaping
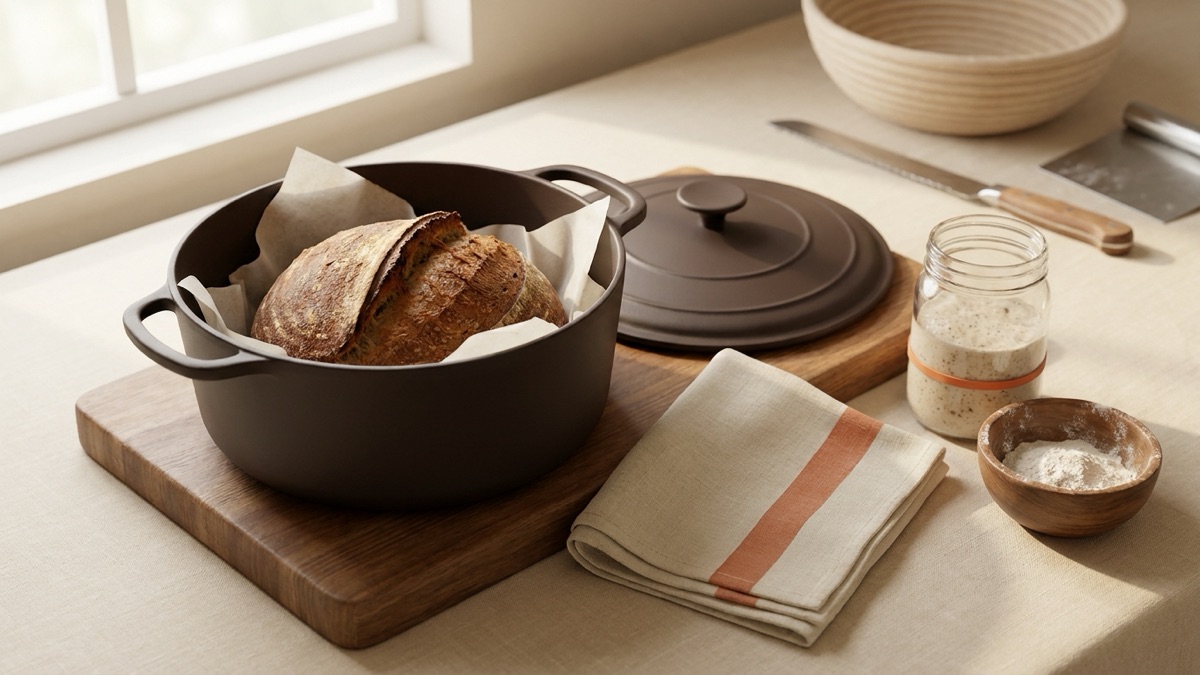
Shaping, scoring and baking
Baking Sourdough in a Dutch Oven: Heat, Lid and Timing
Schedules and seasons
Sourdough in Winter: Keeping a Cold Kitchen Moving