
The Sourdough Crumb: Read It Like a Baker
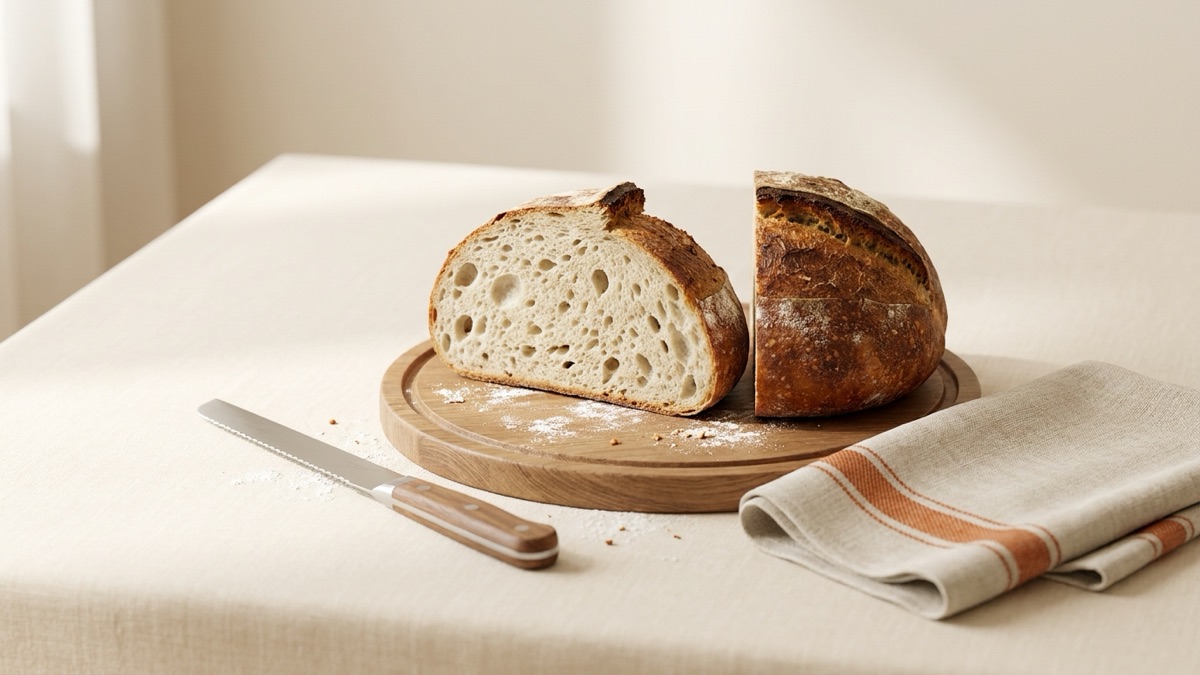
You let it cool, you cut it down the middle, and now you are staring at the inside of your loaf. That cut face is the most honest record of the bake you will ever get. Read it from the top crust to the base and it points to the one step worth changing.
Quick answer
A good sourdough crumb is even from top to bottom, with holes of many sizes and thin, slightly glossy walls. Big holes alone tell you little. A dense base, tunnels in tight crumb or a gap under the crust point to underproofing; a flat loaf with lacy, torn crumb points to overproofing.
The read
Home bakers underproof far more often than they overproof, so the slice to expect early on is a dense band at the base with a few tunnels above it. Extend bulk by 1 to 2 hours, until the dough has grown about 50 percent, looks domed and jiggles, and leave everything else the same. An even crumb top to bottom means Bake it again; a flat, pale loaf next time means you went past it.
Key takeaways
- Judge the crumb by how even it is from top to bottom, not by the size of the biggest hole.
- Big holes in a tight, heavy crumb point to underproofing. Big ragged holes in a weak, sagging loaf point to overproofing.
- Whole wheat, rye and spelt bake tighter by nature. A tight, even crumb in those loaves is not a fault.
- Cut only when the loaf is cool. A loaf cut warm reads gummy whatever the bake did.
- Every read is a proof call plus a few findings, and the fix is one lever: bulk, proof, shaping, bake, hydration, starter, cooling or flour.
What is a good sourdough crumb?
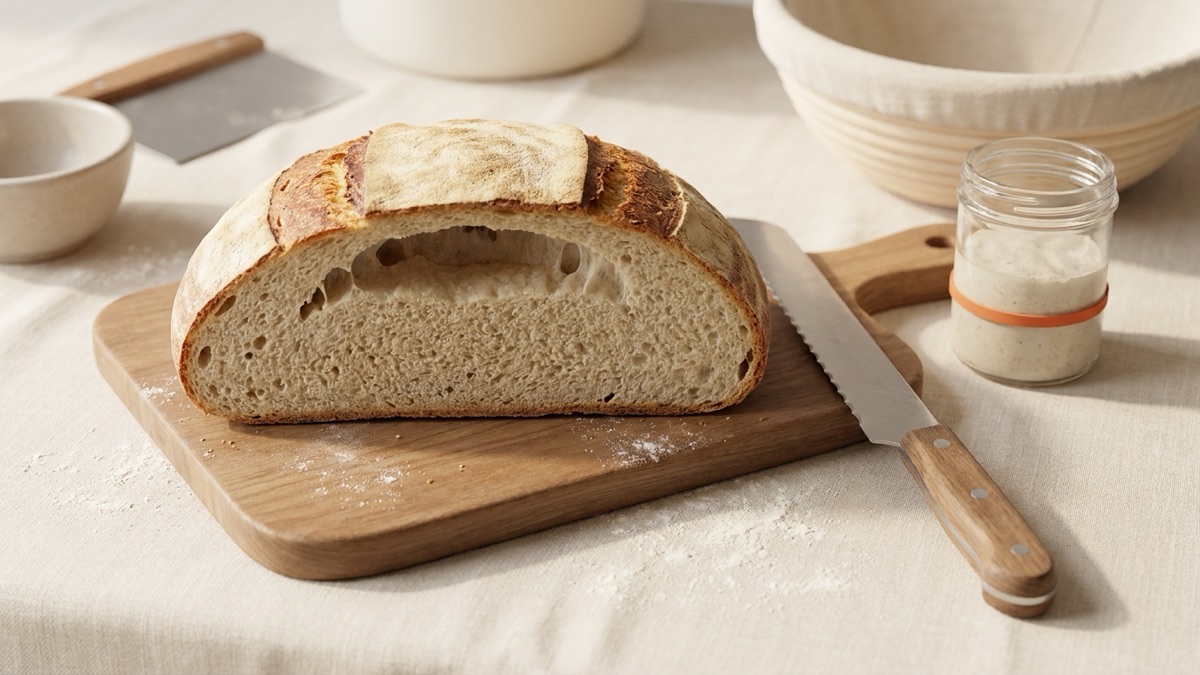
A good crumb is a consistent one. Look for cells of many sizes spread through the whole slice, from just under the top crust down to the base. The walls between them should be thin and a little glossy, and the crumb should spring back when you press it with a finger.
Notice what is missing: big holes. Open and lacy is one style, tight and even is another, and plenty of lovely loaves are tight. The question that matters most is not how big the holes are, but how even they are from top to bottom.
Start with the outline. A tall, rounded slice with a lifted ear means the dough had strength and enough gas; a low, wide slice that melted sideways points the other way. Then follow the crumb down to the base.
The sourdough crumb chart
Keep this chart near the cooling rack. Each pattern comes with what it usually means and the one lever it is tied to.
| Pattern | Looks like | Often means | Lever |
|---|---|---|---|
| Even, holes of many sizes | Open or tight, the same top to bottom, glossy walls | Well fermented and well shaped | Keep |
| Even and tight | Small, close-set holes, like sandwich bread | A firm dough, or whole grain | Hydration |
| Dense bottom | Compact, sometimes shiny band at the base | Underfermented | Bulk |
| Tunnels in tight crumb | A few big channels, tight crumb around them | Underfermented, or air folded in | Bulk |
| Fool's crumb | Wide gap under the top crust, denser below | Underproofed | Bulk |
| Gummy | Wet, shiny, sticks to the knife | Cut warm, most often | Cooling |
| Collapsed, lacy | Thin torn walls, sunken top | Overfermented | Bulk |
| Uneven | Open in one area, tight in another | Uneven fermentation or shaping | Shaping |
| Shaping lines | A spiral, seam or pale streak | Folds did not seal; cosmetic | Shaping |
| Flat profile | Low, wide loaf | Often overproofed | Proof |
Big holes: read the crumb around them
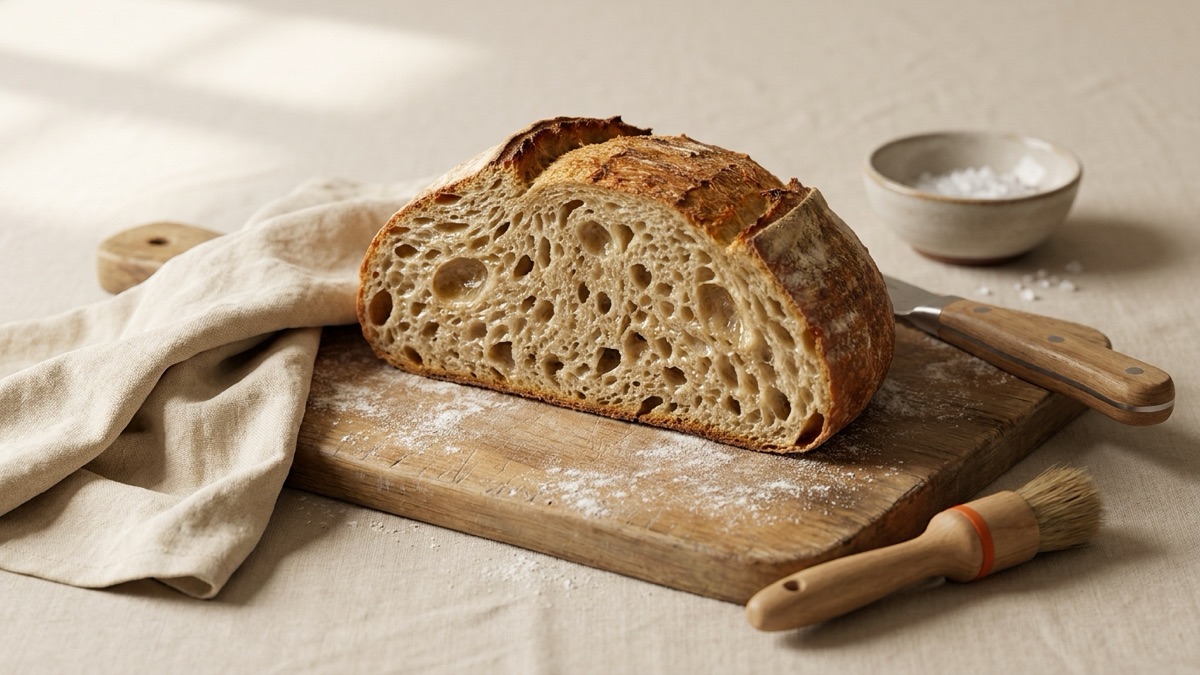
Big holes are what confuse most bakers, because they turn up in underproofed and overproofed loaves alike. On their own they settle nothing. What settles it is the crumb around them and the shape of the loaf.
In an underproofed loaf, the gas was never spread evenly through the dough. The oven blows a few big channels along the weakest paths while the crumb around them stays tight, heavy and often a little gummy. In an overproofed loaf, the walls between bubbles were stretched so thin that they tore and merged, leaving ragged holes in a crumb that looks deflated. One is big holes in a strong, tight crumb. The other is big holes in a weak, sagging one.
Tall, even and well browned with a few larger holes is probably just good bread. More in big holes in sourdough.
Tunnels and fool's crumb
Tunnels are a few large, irregular channels, often near the top or center, surrounded by closed crumb. They usually mean underfermentation, and loose shaping that folds in big pockets of air can add to it. Give bulk 1 to 2 hours more, or run it warmer at 76 to 78F (24 to 26C), and shape with gentle, even tension. There is more on the causes in tunnels in sourdough.
Fool's crumb is the wide gap just under the top crust, as if the crust lifted off the loaf, with denser crumb below it. It looks open at a glance, but it is a sign of underproofing. The top set in the oven while the gassy center kept pushing up and pulled away from it. Too much flour on the surface during shaping can also stop the layers sealing. Extend bulk until the dough is airy and domed, use only a light dusting of flour, and read the whole story in fool's crumb.
Dense bottom and gummy patches
A dense bottom is a tight, compact band along the base, sometimes a little shiny, with more open crumb sitting above it. The dough was underfermented, so there was not enough gas to lift the heaviest part of the loaf. A pot or stone that was not fully preheated can add to it, so give it a full 45 to 60 minutes. The fix itself is bulk: 1 to 2 hours longer, until the dough has grown about 50 percent, looks domed and jiggles. The dense bottom layer guide goes deeper.
Gummy crumb looks wet, shiny or compressed, sticks to the knife and squashes into a paste. Before you blame the fermentation, ask when you cut it. The center leaves the oven near the boiling point of water and the starches are still setting, so a loaf cut warm reads gummy whatever the bake did. Wait at least 1 to 2 hours for a regular loaf of about 700 to 900 g, 2 to 3 hours for a large or tin loaf, and longer for whole grain and rye.
Gummy when fully cool points to the bake or the proof: lean sourdough is done at about 205 to 210F (96 to 99C) in the center.
Tight crumb and open crumb
A tight crumb has small, close-set holes all through the slice, fairly even, a bit like sandwich bread. In a mostly white loaf it usually means a firm, lower hydration dough, or a dough that needed more fermentation. Raise the water by 3 to 5 percent and let bulk run until the dough has grown about 50 percent.
With whole wheat, rye or spelt, a tighter crumb is simply the nature of the flour. Bran soaks up water and cuts through gluten, and rye has little gluten strength to begin with, so these loaves bake tighter and denser whatever you do. The Loaf Scout read does not mark them down for it, and neither should you.
An open crumb comes mostly from good fermentation and shaping, with water as a helper.
Shaping lines, the crust and the ear
Shaping lines are a spiral, seam or pale streak running through the crumb where layers of dough did not fully join. Too much flour on the counter, or a dry dough surface, kept the folds from sealing. It is cosmetic and does not change the flavor. Use the lightest dusting of flour, and let the shaped dough sit seam side down for a minute before it goes into the banneton.
The outside finishes the story. A pale crust can mean a short bake, a cool oven or an overproofed dough that used up the sugars that brown it. An underproofed loaf often bursts along the side, an overproofed one barely opens at the score, and a well timed loaf lifts a clean ear.
What underproofed and overproofed crumb look like
Every crumb read lands somewhere on the same five-step scale. Most loaves sit near the middle, so read for the neighbors as well as the extremes.
| Proof call | The crumb | Shape and crust | The change next bake |
|---|---|---|---|
| Underproofed | Dense band at the base, tunnels in tight crumb, a gap under the crust | Tall with a blowout at the score or side | Extend bulk 1 to 2 hours |
| A little underproofed | Open at the top, tighter toward the base | Big spring, sometimes a burst on one side | 30 to 60 minutes more bulk |
| Well proofed | Even top to bottom, holes of many sizes, thin glossy walls | Good height, clean bloom, golden to deep brown | Repeat it and write it down |
| A little overproofed | Fairly even, thin walls near the top | Lower and wider, weak ear, a shade paler | End bulk 30 to 60 minutes sooner |
| Overproofed | Collapsed, lacy, thin torn walls | Flat and spread, pale, no ear | End bulk 1 to 2 hours sooner |
Published proofing guides describe the same split: explosive oven spring and scattered large holes among tight, dense areas for under, and little oven spring for over. The dough signs before the bake are in underproofed vs overproofed sourdough.
Sourdough crumb analysis: one proof call plus findings
A useful crumb analysis has two parts. First, the proof call: where on that five-step scale the loaf sits, with an honest range, because a slice can sit between a little underproofed and well proofed. Second, the findings: the specific things you can point to, like a dense bottom, a pale crust or shaping lines.
Then you choose one lever. If the bottom was dense, extend bulk by an hour next bake and leave everything else alone. Change two things at once and the next loaf cannot tell you which one worked.
Try it
Answer seven questions about your slice in the crumb troubleshooter and get a proof call, the findings that fit and the one lever to move next bake.
There are more pattern-by-pattern guides in reading the crumb.
How to take a sourdough crumb shot
A crumb shot you can learn from is a plain one. Let the loaf cool completely, then cut straight down through the middle with a serrated knife, so you see the center rather than the end.
Photograph the cut face straight on, in daylight, with the whole slice in the frame from the top crust to the base. Light, angle and a warm knife all change how a crumb looks, so take the photo the same way every bake and loaves a month apart compare fairly.
Tip
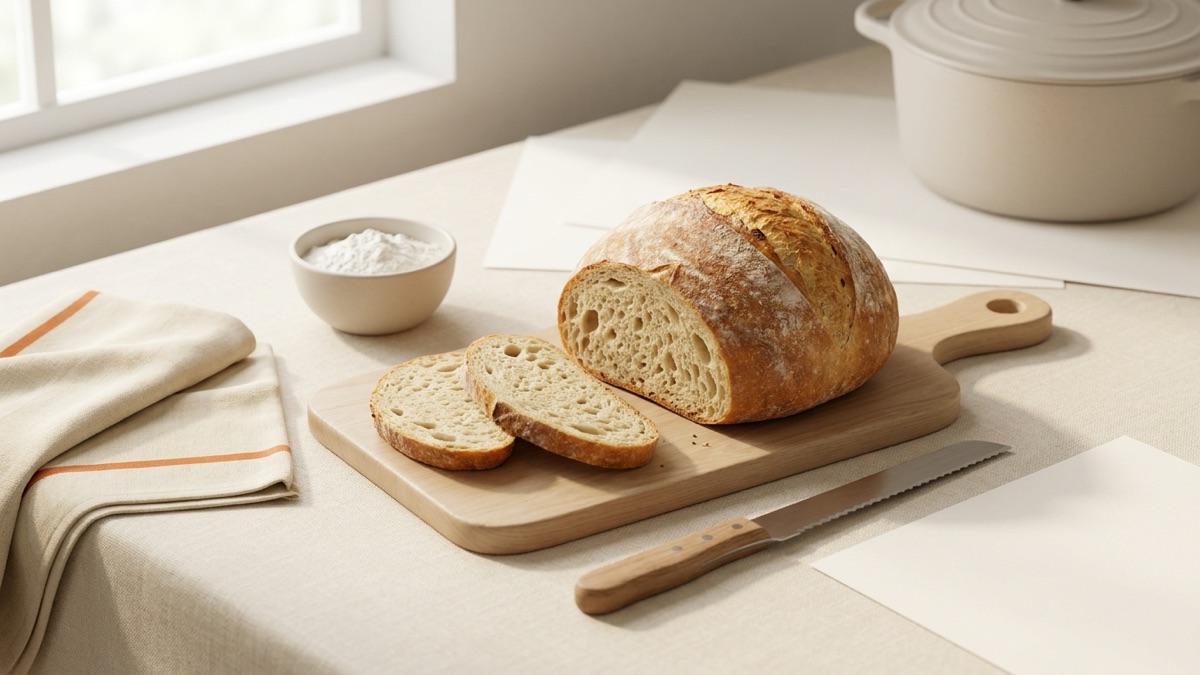
Write three things next to every crumb shot: the dough temperature, the bulk time and how much the dough grew. After a few bakes, the photos and the notes together show you your own pattern.
What to do today
- Wait until the loaf is barely warm or cool to the touch before you cut it.
- Cut straight through the middle with a serrated knife.
- Look at the outline first, then follow the crumb from the top crust down to the base.
- Find the one pattern from the chart that fits best, and note the lever beside it.
- Take one straight-on photo of the cut face in daylight.
- Write down the dough temperature, bulk time and rise, then change one thing next bake.
What to change next bake
- Dense bottom, tunnels in tight crumb or a gap under the crust: bulk, 1 to 2 hours longer, until the dough has grown about 50 percent, looks domed and jiggles.
- Open at the top, tighter toward the base: bulk, 30 to 60 minutes longer, or a slightly longer final proof.
- Gummy only because you cut it warm: cooling. Wait at least 1 to 2 hours next time and change nothing else.
- Gummy when fully cool: bake, until the center reads about 205 to 210F (96 to 99C).
- Flat, pale, lacy and torn: bulk, end it 1 to 2 hours sooner or move it somewhere cooler around 72F (22C).
- Shaping lines or a spiral: shaping, with the lightest dusting of flour.
- Even crumb top to bottom, good height and a deep brown crust: Bake it again. Keep the same timing and temperatures and write them down.
The Loaf Scout app reads one straight-on photo of the cut face and gives you the proof call, a Loaf Score and the one change for next bake. It is an AI read of one photo, so treat it as a second opinion next to your own eyes and the way the dough felt.
Every loaf leaves notes for the next one. Read the whole slice, pick one lever, and bake again.
The pictures in this guide are AI-generated illustrations, not photos of real bakes; real loaves and starters vary, so trust the signs described in the text over any picture. Loaf Scout guides are general baking guidance, written from the sources named below, and every kitchen, flour and oven is a little different. Loaf Scout gives an AI read of one photo; your own eyes, nose and the poke test still count. A starter with fuzzy mold of any color, pink or orange streaks, or a rotten smell is thrown out and started again, whatever any page says.
Questions people ask
What is a good sourdough crumb?
An even crumb from top to bottom, with holes of many sizes, thin and slightly glossy walls, and a slice that springs back when you press it. It can be open or tight; whole wheat, rye and spelt bake tighter by nature.
Why does my sourdough have big holes but a dense crumb?
A few big holes or tunnels in a tight, heavy crumb usually mean the dough was underfermented, so the oven blew a few channels instead of many small cells. Extend bulk by 1 to 2 hours next bake.
Is fool's crumb underproofed or overproofed?
Fool's crumb, a gap under the top crust with denser crumb below, is a sign of underproofing. It looks open at a glance, but the fix is a longer bulk and only a light dusting of flour when you shape.
How long should sourdough cool before you cut it?
At least 1 to 2 hours for a regular round or oval loaf, 2 to 3 hours for a large or tin loaf, and longer for whole grain and rye. A loaf cut warm reads gummy whatever the bake did.
How do you take a good sourdough crumb shot?
Cut the cooled loaf straight through the middle with a serrated knife, then photograph the cut face straight on in daylight, with the whole slice from the top crust to the base in the frame.
Sources
- The Perfect Loaf: Proofing bread dough: www.theperfectloaf.com/guides/proofing-bread-dough/
- The Perfect Loaf: The ultimate guide to bread dough bulk fermentation: www.theperfectloaf.com/guides/the-ultimate-guide-to-bread-dough-bulk-fermentatio
- The Perfect Loaf: The ultimate guide to baking bread dough: www.theperfectloaf.com/guides/the-ultimate-guide-to-baking-bread-dough/
Read next
Reading the crumb
Big Holes in Sourdough: Good Sign or Fault?
Reading the crumb
Fool's Crumb: The Gap Under the Crust
Starter care
How to Tell When Your Starter Is Ready to Bake
Hydration and flour
High Hydration Sourdough: When It Helps and When It Hurts
Starter problems
Hooch on Sourdough Starter: What the Liquid Means